Build the arrow-and-turret package
- Take the demonstrated artifact that makes arrow kills accelerate the cooldown of all arrow abilities. That effect directly connects successful arrow kills to faster access to the same ability family.
- Combine the documented arrow-oriented pieces used in the run: Turret Layer, Archer Tower and Side Ballista. Turret Layer places a friendly ballista turret that shoots nearby enemies.
- Use upgrade choices that keep extending the ranged package. The demonstrated run chooses a large turret attack-range increase and also takes an increase to arrow damage.
- Treat the setup as a position-and-cooldown build rather than a stationary damage pile. The later run repeatedly cares about whether Turret Layer is available and how far the placed turrets can contribute.
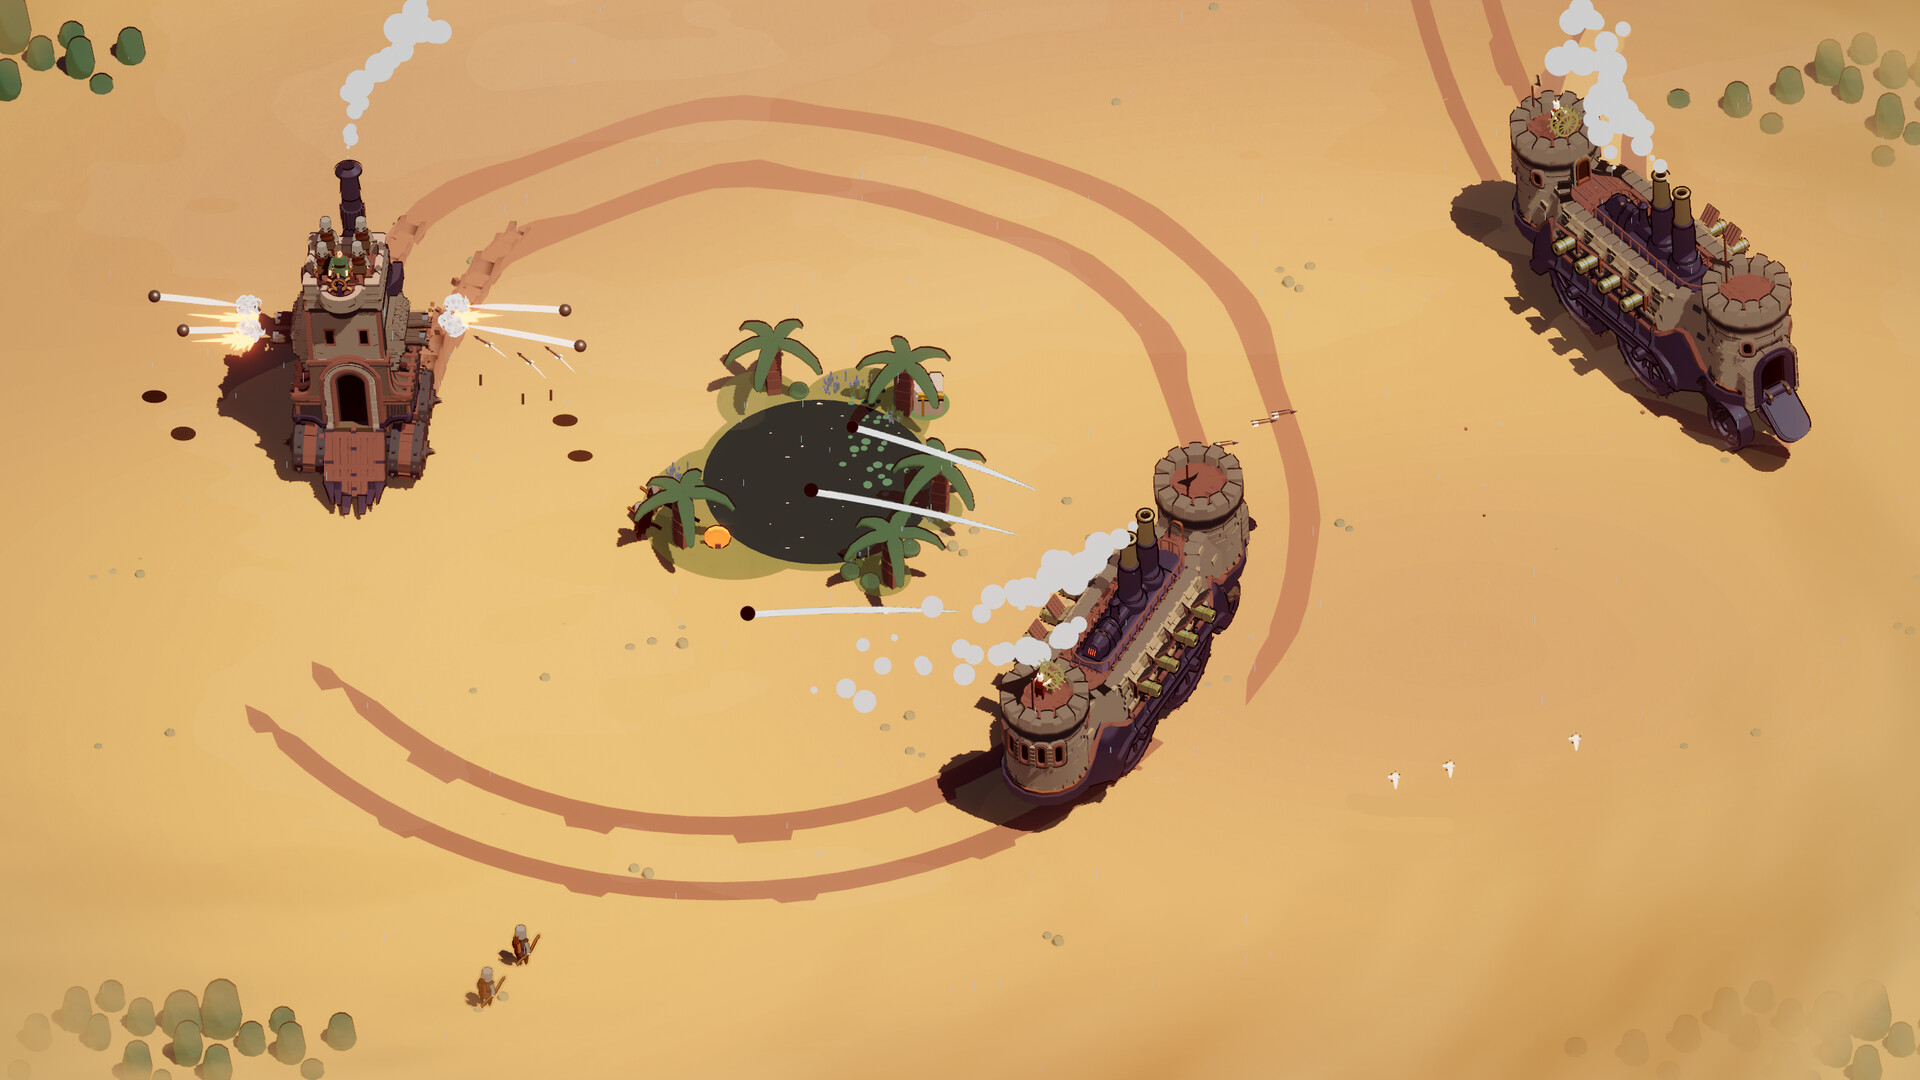
Watch the full turret-and-arrows run to follow the exact demonstrated setup and positioning pattern.Playing this video connects to YouTube.
Deploy, retreat, and pull enemies through turret fire
- Place the turrets before the pursuing enemies fully close on the fortress, giving the deployed weapons time to begin shooting nearby targets.
- Retreat after deployment. The demonstrated tactic is specifically to drop the turret and move away while enemies pursue and the turrets keep attacking.
- Use that retreat to create the spacing the setup needs rather than staying on top of the placed turrets. The run repeats this pattern against both swarms and bosses.
- Once the pressure is cleared, return to collect the dropped gold. The demonstrated sequence is deploy, retreat, let the turrets work, then come back for the reward.
- Keep feeding the same ranged plan through arrow kills, turret range and arrow damage so the cooldown interaction and placed-turret role remain connected.
Cooldown pressure and weaker pieces
Turret Layer availability is a practical pressure point in the demonstrated run. The creator explicitly calls for reducing the turret cooldown even more, so cooldown reduction responds directly to how often the setup wants to redeploy its strongest placed weapon.
The same run gives a weaker assessment of Side Ballista than of Archer Tower and the turrets. Treat that as an observation from this specific setup: the creator describes Archer Tower as powerful, is highly positive about the turrets, and regards the ballistas as less exciting.
Later, the run chooses to improve Side Ballista attack while noting that its ability is barely being used. That reinforces the practical distinction between a component that is present in the build and the components actually driving the build’s active loop.
The safest way to copy the setup is therefore to preserve its proven core: arrow-kill cooldown interaction, Turret Layer, Archer Tower, turret range, arrow damage and the deploy-retreat-return spacing pattern.